
Do you add sprouted seeds to your flocks diet whether that be chickens, quail, or ducks?
If you do … perfect! If you don’t, did you know, it is a super way to add to their health, nutrition level, and happiness.
I sprout seeds for my flock, once a week during the normal year, however, in the cold winter weather when foraging does not have the same nutrient options for them I sprout daily. It becomes a diet staple and it is easy to implement into your routine too.
Why Feed Sprouts to your Flock?
Your flock whether it be chickens, ducks, or quail all have a natural foraging nature. They are constantly looking for food and figuring out where to get it. Mentally this is key to their emotional health. The day-to-day same old food (in my personal opinion) is boring and mundane. Yes I understand the layer feed is nutritionally balanced, but would you be happy eating the same thing every day with no options? Yes they need their balanced nutrients from a good layer feed I will not dispute that, however, on top of that … give them options that are healthy and nutritious.
Yes, we all feed kitchen scraps to our flocks, but that doesn’t mean it is their whole diet or the bulk of their diet. Scraps are to be done in moderation. Moderation means, we really shouldn’t be tossing them kitchen scraps all day long. Giving too many scraps will throw off their nutritional balance. I always provide layer feed as part of the morning routine. They are hungry then after roosting for the night, and begin searching for their food. By providing the layer feed first thing I know that nutritionally they are starting off with that in their diet for the day. Kitchen scraps come later in the day.
The beauty of sprouts is they can be given at any time in the day due to the packed nutrients. They also provide needed “greens” in the diet. The result for us … when the flock receive great nutrition we benefit through the great eggs they provide. It goes back to the saying “you only get back what you put in”.
Why are Sprouted Seeds Better?
When you move into the sprouting process enzymes within the seeds are activated. So why is this important? This allows for easier digestion and absorption of the nutrients contained in the sprouts. The levels of the protein, vitamins, and minerals that are available are also increased through the sprouting process. So bonus for everyone involved. Sprouts are GREAT for us as humans too!!
Ideas for seeds to sprout:
- Barley
- Peas
- Alfalfa
- Sunflower
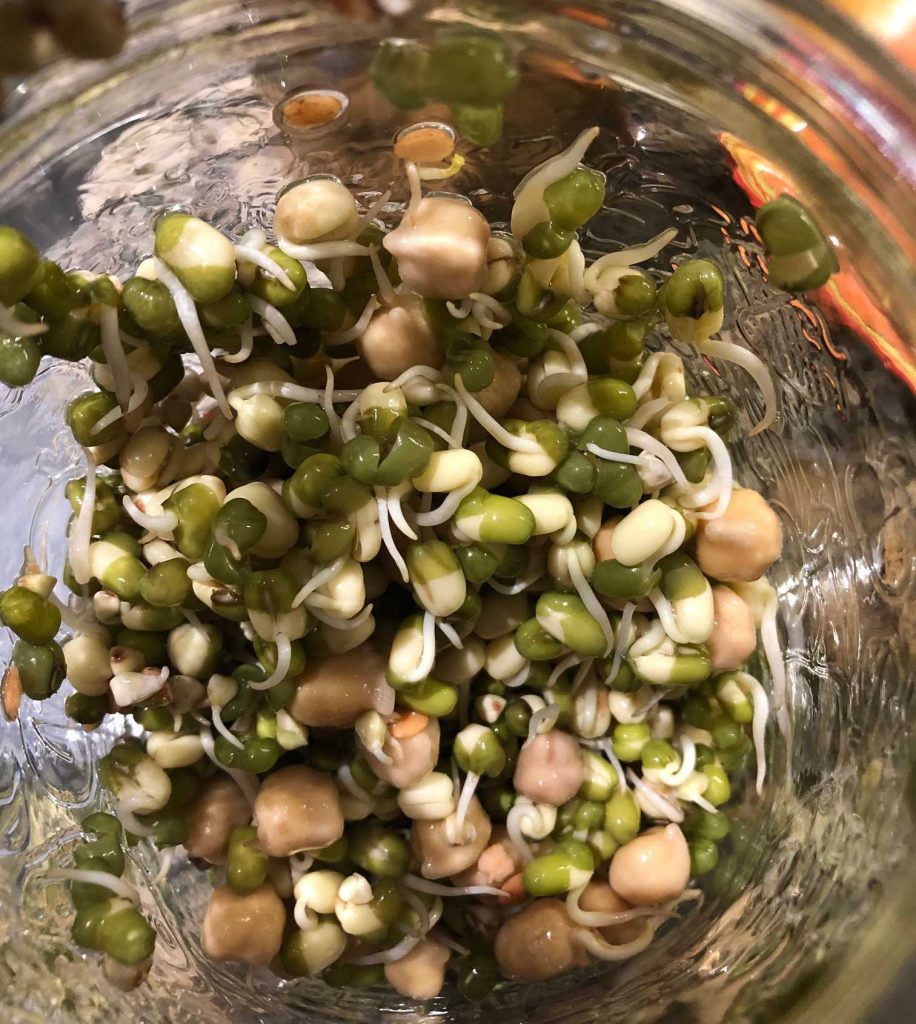
- Mung (my favourite as they are a good size and sprout quickly)
The ideal sprout length is anywhere from 1/8-inch to 2 inches long. Once a sprout grows beyond 2 inches, it is no longer considered a sprout and becomes a seedling with less nutrients.
Things You Need
If you want to sprout seeds you don’t require fancy equipment just a few simple items.
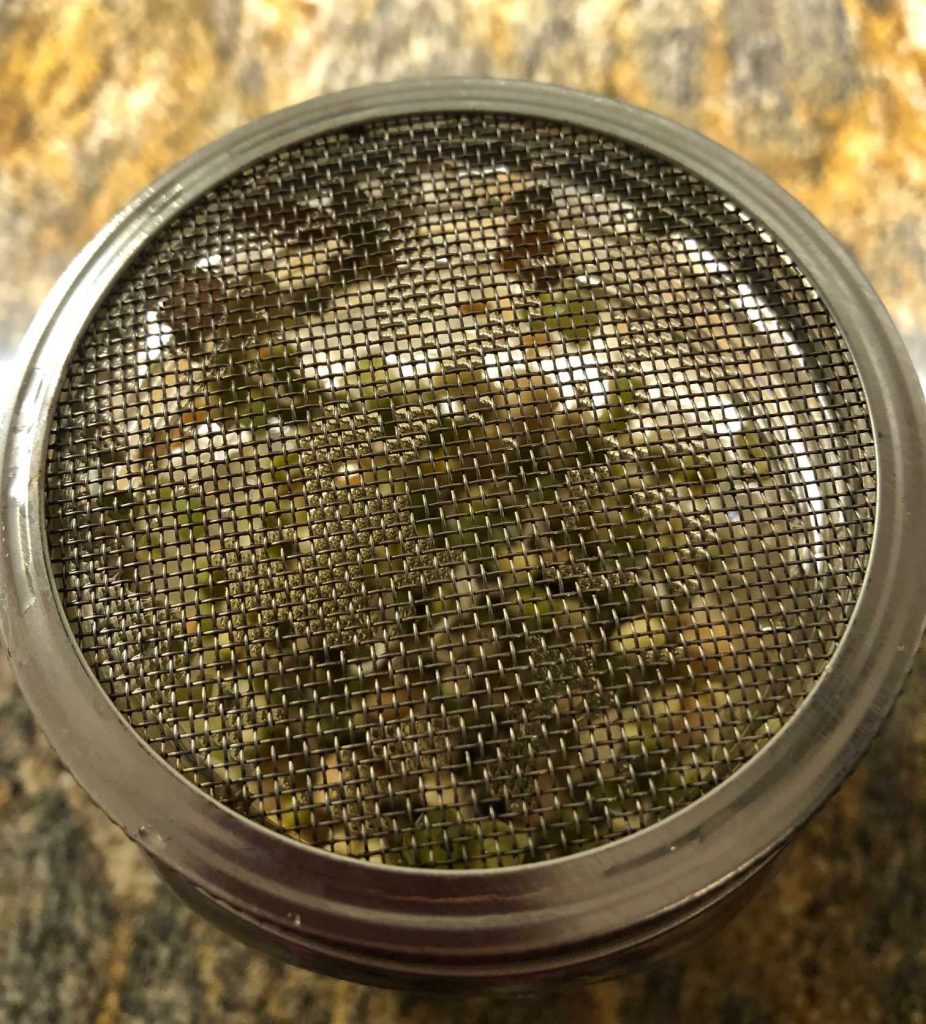
- sterilized jar (I use mason jars)
- netting, fabric, or strainer screen
- mason jar lid, or rubber band
- a bowl or sink rack
- seeds to sprout
If you are sprouting for a larger flock where you need more than a quart mason jar. There are larger mason jars or you can use a bucket.
Step 1: Rinse & Soak
Add the seeds to the jar and fill with cool clean water. In a quart mason jar I usually add about 1 cup of seeds. Do not fill the mason jar more than a quarter of the way full. The seeds expand as they soak and sprout. The jar needs to have room in it to work and sprout. Fill it with water and rinse a few times just to rinse off the seeds themselves. Then it needs to soak. Add normal temperature water to the jar. I fill it about ¾ full. Set the jar on your countertop, and allow the seeds to soak in the water for 8 to 12 hours.
Step 2: Rinse & Repeat
After the initial 8-12 hour soak, dump the water from the jar (make sure your sprouting lid is in place). Tip the jar upside down and let the water run out. Add fresh water to the seeds. Squish the water around while rinsing the seeds. Dump the water again. Lean the drained jar on a tilt upside down into a bowl or on a draining sink rack.
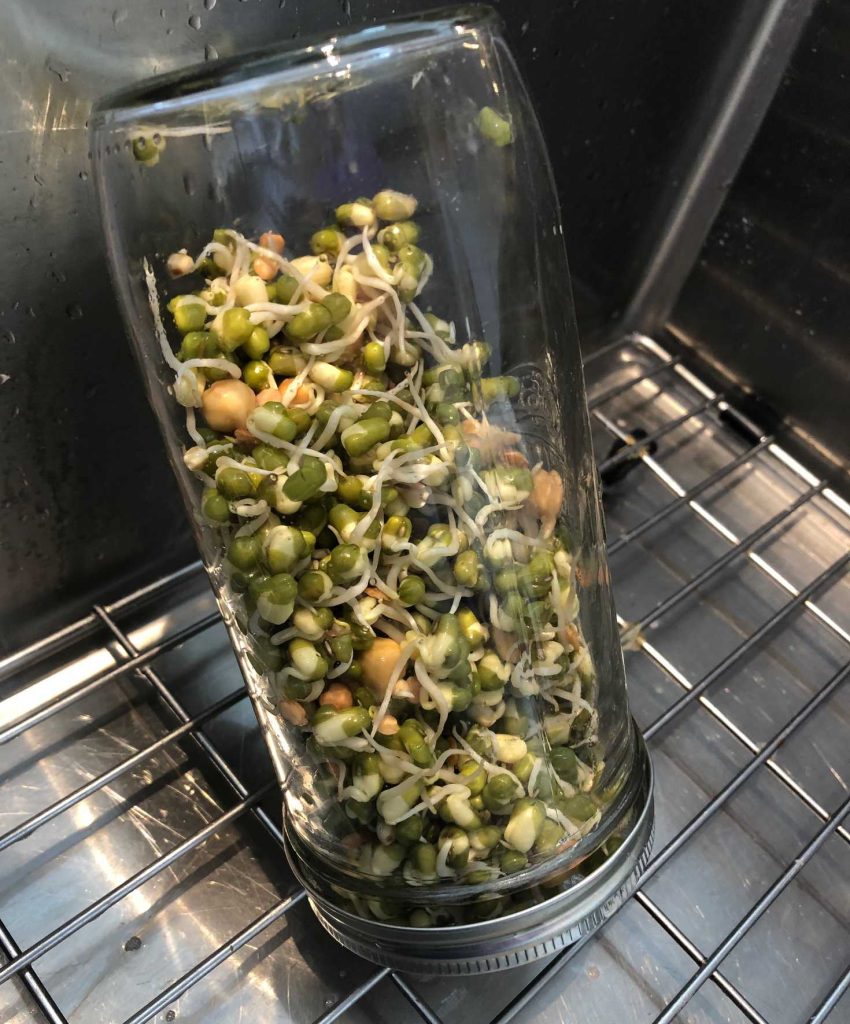
Keep repeating this process of rinsing and draining as often as you can in a day. I tend to do it when I walk but the sink (at least 3 times a day, more if you can). Continue this routine until the seeds have sprouted. You will see little sprouts come out of the seed. Depending on the seed type the length of the sprout will vary , but it should be ¼ of an inch to less than 2 inches. They grow and change fast once the process starts. I usually divided my mason jar, when they start to sprout, into two jars so they have room to grow. Within a few days they are ready to feed.
Step 3: Feed
Feed your flock and enjoy watching them devour the goodness. You can feel good and they enjoy it!
Special Notes:
If you don’t feed them all of the sprouts at one time, they can be easily stored in the refrigerator. This keeps them fresh, and also halts their growing process, but please use within a few days.


